Golf Course Information & Tour
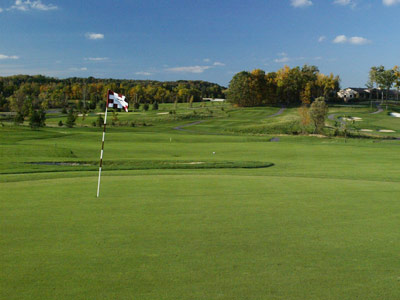
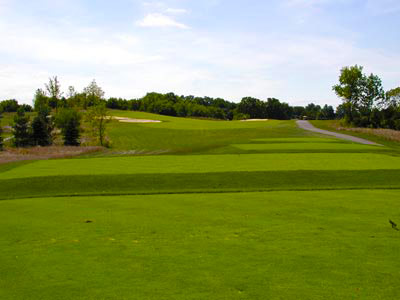
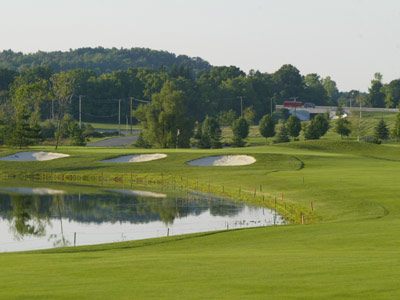
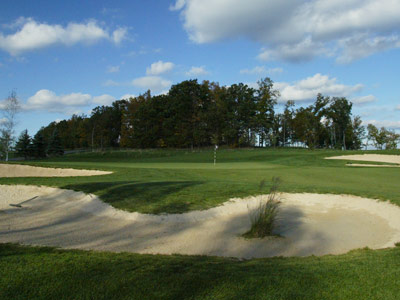
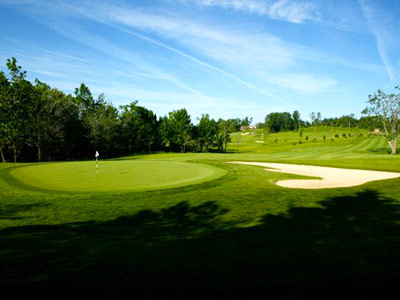
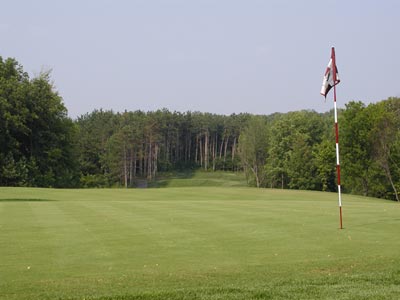
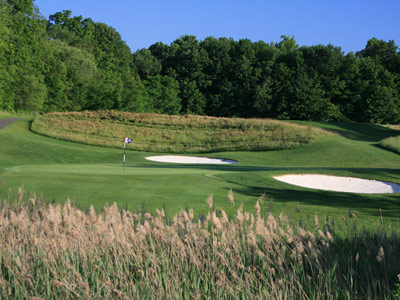
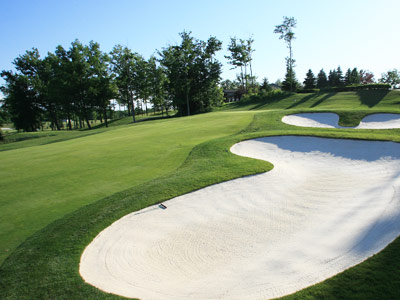
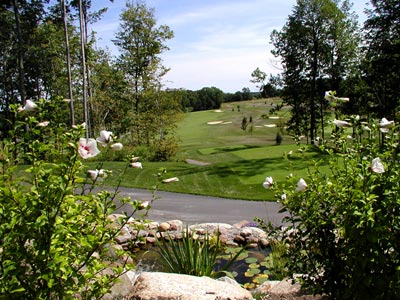
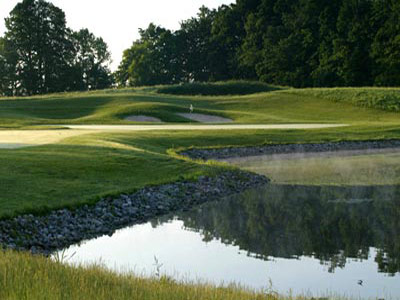
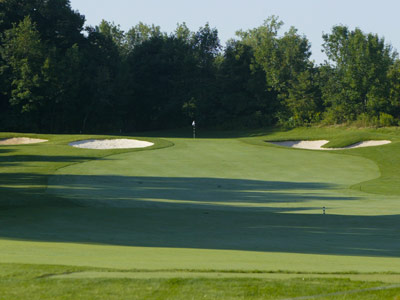
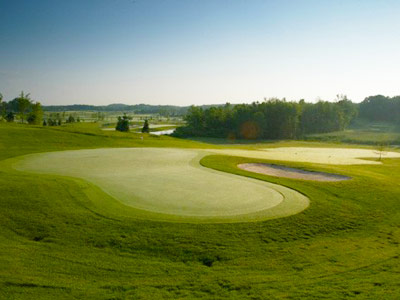
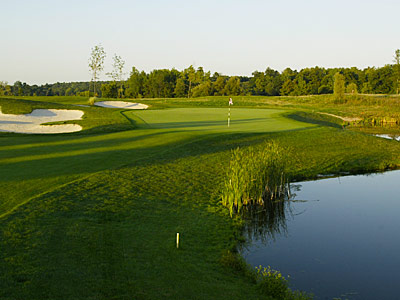
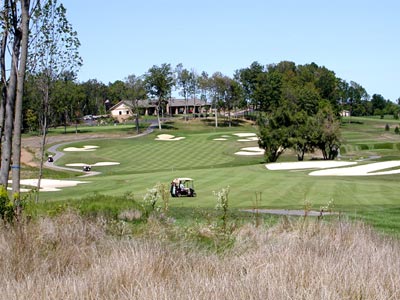
Ravenwood is a full service golf facility, with a lighted all-grass-tee driving range, PGA Certified golf instruction for Adults, Juniors, and Groups, and a great practice facility. Ravenwood Golf Course is widely considered to be the Top Public Golf Course in the Rochester area, and was selected by Golf Digest as the 5th "Best New Public Course" to open in the United States in 2003. Below is an aerial video of all 18 holes of our course, while scrolling further down the page will reveal hole by hole photos to show some of the beauty you'll experience during your round.